
Installing the Tap Water Filter - Standard TapsUpdated 8 months ago
Step by step guide - Installing your filter
Welcome to our step-by-step guide on installing your Tap Water Filter. This guide will walk you through the process of setting up your filter for standard taps.
Tap Styles:


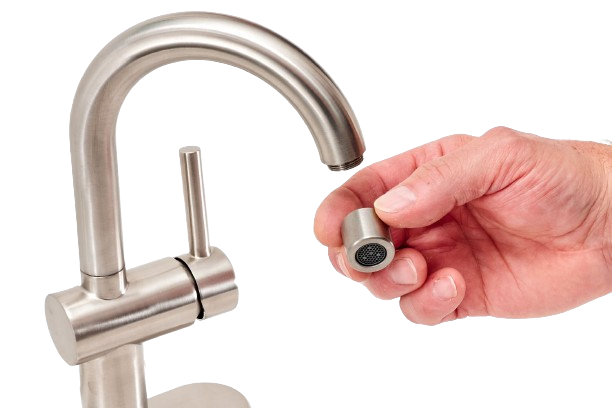
Step 1: Unscrew your Aerator


By Hand:
- Use your fingers to grip the aerator.
- If it’s too tight, you might need to use a cloth or a rubber glove for extra grip.
- Rotate the aerator counterclockwise (to the left) to unscrew it. Apply steady, even pressure.
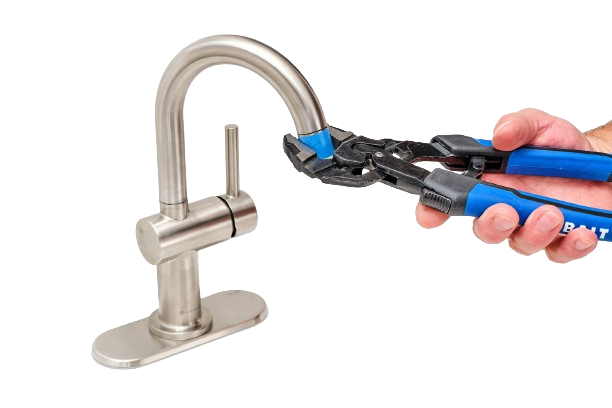
Using a Wrench:
If your aerator does not loosen by hand, try using a wrench.
- Adjust the wrench to fit snugly around the aerator.
- Grip the aerator firmly with the wrench.
- Turn the wrench counterclockwise to unscrew the aerator. Be gentle yet firm to avoid damaging the faucet or aerator. You can use a towel or tape underneath the wrench to protect the surfaces.
- Once the aerator starts to turn, you can usually finish unscrewing it by hand.
- If it's still difficult to remove, apply a penetrating oil to the aerator and wait another few minutes before trying again.
.png)
Attach the Filter:
- Screw on the appropriate adapter included in your parcel to your tap.
- Attach the valve of the filter to your adapter.
- Attach the housing of the filter to the valve.
For additional assistance, you can watch the video below showing how to attach your filter using an adapter.
For more information or further assistance, feel free to contact our support team.